
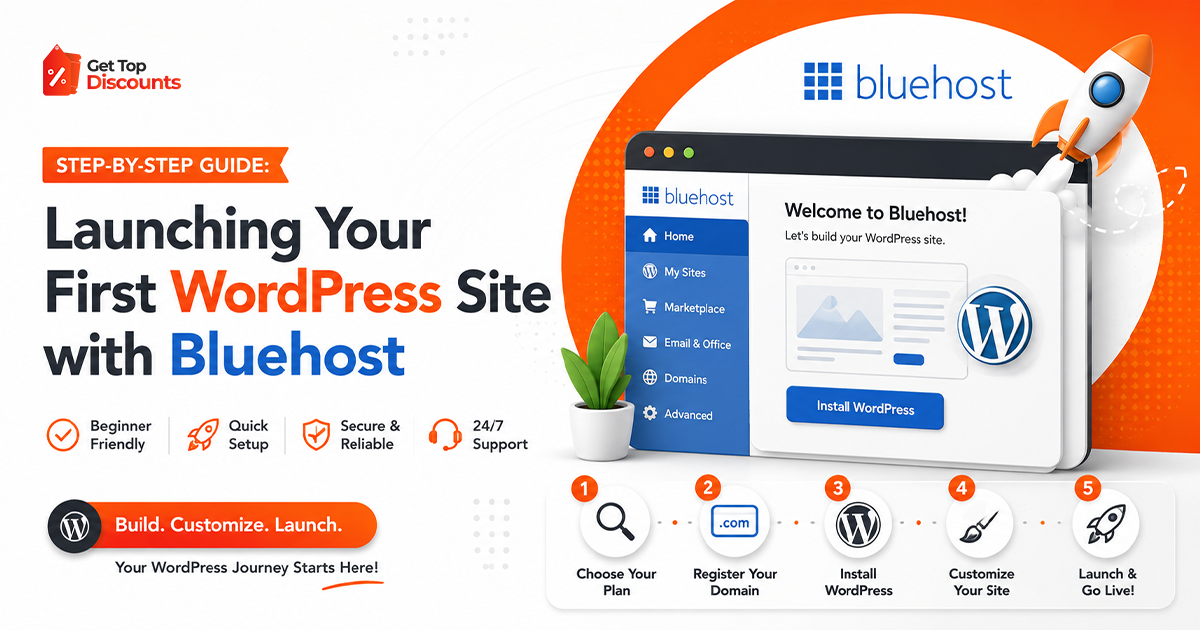
Setting up a WordPress site can sound technical when you have never done it before.
With Bluehost, most of the server work is handled for you. You choose a hosting plan, connect a domain, install WordPress, and start building the site from the WordPress dashboard.
The current Bluehost setup is also easier than the old manual WordPress process. You do not need to create a database or upload WordPress files yourself. Bluehost installs WordPress from its own portal.
This Bluehost WordPress tutorial walks through the process from purchase to launch.
We will also cover the parts beginners often miss, such as SSL, domain connection, caching, backups, and renewal pricing.
If you have not purchased hosting yet, get a free domain and a Bluehost discount code for your first order. Our Get Top Discounts Bluehost page currently shows 10+ deals and was last checked on August 17, 2026.
How to Setup Bluehost: Quick Overview
Here is the whole process before we go through each step.
- Choose a Bluehost hosting plan.
- Register or connect your domain.
- Log in to the Bluehost Portal.
- Add a new website.
- Choose WordPress.
- Let Bluehost install WordPress.
- Connect your domain.
- Check SSL.
- Log in to WordPress.
- Choose a theme and create your pages.
- Check caching and performance.
- Review the site before publishing.
You can get the technical setup done fairly quickly.
The part that usually takes longer is building the actual website.
Step 1: Choose the Right Bluehost Plan
Do not buy the most expensive plan just because it has more features.
Start with the website you actually plan to build.
Bluehost currently offers three main WordPress plans:
| Plan | Current Intro Price* | Websites | Storage | Best For |
| Starter | $3.99/mo | 10 | 10 GB NVMe | Blogs and first websites |
| Business | $6.99/mo | 50 | 50 GB NVMe | Multiple or growing websites |
| eCommerce Essentials | $14.99/mo | 100 | 100 GB NVMe | WooCommerce and online stores |
*Prices shown by Bluehost in August 2026 for the displayed 36-month terms. Pricing can change.
For a personal blog, portfolio, affiliate site, or small business website, Starter will usually give you enough room to begin.
The current Starter plan includes:
- Free domain for the first year
- Free SSL
- Free CDN
- Managed WordPress updates
- Weekly backups
- Malware scanning
- Static caching
- Object caching
- WordPress staging
- 10 GB NVMe storage
- 24/7 chat support
That is already a fairly complete setup for a first WordPress site.
If you are still comparing hosting companies, before you buy, ensure you chose the right platform in our Bluehost vs Competitor guide.
Step 2: Check the Bluehost First Order Discount
Once you know which plan fits, check the price before paying.
Our Bluehost First Order Discount and hosting offers page tracks current deals for WordPress hosting and other Bluehost services.
Some Bluehost promotions are applied automatically.
Others may depend on the hosting product or term you select.
Before you pay, check these details:
- Starting monthly price
- Length of the plan
- Total due today
- Renewal price
- Free domain terms
- Extra add-ons
- Email trial details
- Domain privacy cost
The low monthly price you see in ads often requires you to pay for a longer plan upfront.
For example, Bluehost currently advertises Starter at $3.99 per month on the displayed 36-month option. It renews at $9.99 per month for that term.
Do not look only at “$3.99.”
Look at the complete amount due at checkout.
Step 3: Choose Your Domain Name
Your domain is the address people type to visit your site.
For example:
yourbusiness.com
or
yourblog.com
Keep it simple.
A good domain should be:
- Easy to spell
- Easy to remember
- Short enough to type
- Relevant to your site
- Free from unnecessary numbers or symbols
Bluehost currently includes one free qualifying domain for the first year with 12- or 36-month hosting plans. The domain must be claimed within 90 days of purchase. Premium domains and some extensions are excluded.
The domain renews separately after the free year.
Keep that future cost in mind.
Already Have a Domain?
You do not need to buy another one.
If your domain is registered somewhere else, you can point it to Bluehost or transfer it.
Bluehost says outside domains need to point to its nameservers before they can be fully connected to a Bluehost website.
Step 4: Log In to the Bluehost Portal
After purchasing your hosting, open your Bluehost account.
The Bluehost Portal is where you manage:
- Websites
- Domains
- Hosting
- Security
- Performance
- WordPress access
For this setup, the main section you need is Websites.
Bluehost redesigned much of its WordPress workflow around this area, so you do not need to begin in cPanel for a normal new installation.
Step 5: Use the Bluehost One-Click WordPress Install
Bluehost’s one-click WordPress install is now handled through the Websites section of the portal.
The current process is:
- Log in to Bluehost.
- Click Websites in the left menu.
- Click Add Website.
- Select WordPress.
- Bluehost installs a new WordPress instance automatically.
There is no need to manually download WordPress.
You also do not need to upload WordPress files with FTP or create the database yourself for a normal installation.
That is one of the reasons Bluehost works well for beginners.
Step 6: Choose How You Want to Build the Site
Once WordPress is installed, Bluehost currently gives new users different ways to continue.
One option is the AI Site Creator.
Bluehost’s June 2026 installation guide says the creator asks for information such as:
- Website title
- Website description
- Type of website
It then helps prepare the initial WordPress site.
You do not have to use AI to build the entire website.
You can also start with WordPress and customize the design yourself.
If you already have an existing WordPress site, Bluehost offers an import option rather than forcing you to rebuild it.
Step 7: Complete Your Bluehost Domain Setup
Your WordPress installation needs to be connected to the domain visitors will use.
If the domain and hosting were purchased together, Bluehost says a new domain may be automatically assigned to the default website.
You can also connect it from the website settings.
The current Bluehost domain setup process is:
- Open the Bluehost Portal.
- Click Websites.
- Find your site.
- Click Manage Site.
- Open the Overview or Domains area.
- Click Connect Domain.
- Enter your domain.
- Click Continue.
- Finish the connection.
Bluehost can also give a new WordPress installation a temporary domain.
That means you can start working on the site before your final domain is connected.
This is useful if you are still deciding on a domain name.
Step 8: Give DNS Time to Update
If you bought the domain somewhere else, the connection may not appear immediately.
DNS changes can take time to spread.
Bluehost notes that some DNS changes may take up to 24–48 hours to propagate fully.
Do not start changing random settings if the domain does not work five minutes after connecting it.
First check that:
- The domain is spelled correctly
- The correct nameservers are being used
- The domain points to Bluehost
- The domain is connected to the right website
Then give the DNS time to update.
Step 9: Check Your Free SSL Certificate
SSL gives your website the https:// address and encrypts traffic between the visitor and the site.
Bluehost currently includes a free Let’s Encrypt SSL certificate with WordPress hosting.
Do not assume it is working just because it is included.
Check it.
Bluehost’s August 2026 instructions are:
- Log in to Bluehost.
- Click Websites.
- Choose Manage Site.
- Open Security.
- Find SSL Certificates.
- Check the status.
If the certificate is active, Bluehost should show that the SSL certificate is secure.
Then open the website in your browser.
The address should begin with:
https://
instead of:
http://
Do this before you start promoting the site.
Step 10: Log In to WordPress
Now you can work inside WordPress itself.
You have two easy ways to get there.
Through Bluehost
Open the Websites area in Bluehost and use the WordPress admin or Edit Site option.
Through Your URL
You can usually visit:
yourdomain.com/wp-admin
Bluehost’s current support documentation confirms both methods.
Once you are inside WordPress, you will see the main dashboard.
This is where you manage:
- Posts
- Pages
- Themes
- Plugins
- Users
- Comments
- Media
- Site settings
You will spend much more time here than in the hosting dashboard once the site is running.
Step 11: Set Your Basic WordPress Settings
Before designing anything, handle a few simple settings.
Go through:
Settings → General
Check:
- Site title
- Tagline
- Admin email
- Time zone
Then check your permalink structure.
For most normal websites, clean page URLs are easier to read than URLs filled with numbers.
Do this early.
Changing URL structures after publishing dozens of pages can create extra work.
Step 12: Choose a WordPress Theme
Your theme controls much of the site’s visual layout.
Do not install five themes because you cannot decide.
Pick one good option and build around it.
For a first site, focus on:
- Mobile responsiveness
- Simple navigation
- Fast loading
- Clear typography
- Regular updates
- Compatibility with current WordPress versions
A lightweight theme is usually easier to manage than one packed with features you will never use.
Your theme should help the content.
It should not become the main reason the website is slow.
Step 13: Install Only the Plugins You Need
Plugins add features to WordPress.
You may use them for:
- SEO
- Contact forms
- Security
- Backups
- Analytics
- eCommerce
- Spam filtering
Bluehost currently includes access to the free version of Yoast SEO on its WordPress plans.
Do not install plugins just because someone put them on a “30 plugins every WordPress site needs” list.
Every extra plugin adds something else to manage.
Keep the setup simple.
Step 14: Create the Main Pages
Most websites need a few basic pages before launch.
Start with:
- Home
- About
- Contact
- Privacy Policy
A business website may also need:
- Services
- Pricing
- FAQs
- Testimonials
An online store will need product and policy pages too.
You do not need 50 pages before launching.
Get the important pages right first.
Step 15: Build Your Navigation Menu
Visitors should understand the website quickly.
Keep the main menu clear.
A simple small-business menu might be:
Home | About | Services | Blog | Contact
Do not hide important pages behind complicated dropdowns if there is no reason to.
Check the menu on mobile too.
A navigation bar that looks fine on a laptop may become awkward on a smaller screen.
Step 16: Check Bluehost Caching
Bluehost automatically provides caching for new WordPress installations.
Its current setup includes page caching and Redis object caching. Cloudflare CDN can also be managed through the Bluehost Portal.
To check the performance controls:
- Log in to Bluehost.
- Click Websites.
- Click Manage Site.
- Open Performance.
From there, Bluehost currently lets you manage caching and enable Cloudflare.
You usually do not need another caching plugin immediately.
Bluehost says its built-in caching already handles several layers automatically.
Adding multiple caching tools without understanding them can sometimes create more problems than it solves.
An important step after setup is to optimize your Bluehost server for top speed if performance is a priority for your site.
Step 17: Optimize Your Images
This is one of the easiest speed wins for a new WordPress site.
Do not upload a huge camera image directly to a page when the website only displays it at a much smaller size.
Resize images before uploading them.
Use modern formats when they make sense.
Compress large files.
A fast host cannot completely fix a page filled with oversized images.
This is especially important for:
- Homepage banners
- Blog featured images
- Portfolios
- Product photos
- Background images
Step 18: Check Mobile Before Launch
Open the site on your phone.
Do not rely only on the WordPress desktop preview.
Check:
- Font size
- Menu
- Buttons
- Forms
- Images
- Spacing
- Footer
- Contact details
Try tapping every important button.
A site is not ready just because it looks good on your laptop.
Step 19: Test Your Forms and Links
Click everything.
If you have a contact form, send yourself a test message.
If you have social links, open them.
If you have a phone number, test the mobile tap action.
If you have a checkout, place a test order if your setup supports it.
Also look for:
- Broken links
- Missing images
- Placeholder text
- Demo content
- Empty pages
These small mistakes are easier to fix before visitors start arriving.
Step 20: Review Backups and Security
Bluehost’s current Starter WordPress plan includes weekly website backups, free malware scanning, malware detection and removal, a web application firewall, and DDoS protection.
Those features are useful.
Still, understand what is included with your exact plan.
For an important business site, consider keeping another backup copy somewhere outside the hosting account too.
Never assume one backup system can never fail.
Step 21: Check Your Site Before Going Live
Before you share the URL, do one final run-through.
Check:
Domain
Does the correct URL load?
SSL
Does the browser show HTTPS?
Homepage
Does it clearly explain what the site is about?
Navigation
Can people find the important pages?
Mobile
Does everything fit properly?
Forms
Do messages arrive?
Speed
Are the main pages loading normally?
SEO
Do your pages have clear titles?
Backups
Do you know what backup protection your plan includes?
Once these are done, you are ready to publish.
Common Bluehost Setup Mistakes
Buying Too Much Hosting
A new blog does not need enterprise-level hosting.
Start with what you need.
Ignoring Renewal Pricing
The first-term price does not last forever.
Bluehost Starter is currently advertised at $3.99 per month on the displayed 36-month term and renews at $9.99 per month.
Avoid checkout surprises by reading our full Bluehost pricing and feature breakdown before committing to a long billing period.
Forgetting About the Domain Renewal
The qualifying domain is free for the first year, not forever.
Installing Too Many Plugins
More plugins do not automatically create a better website.
Skipping Mobile Testing
A large part of your audience may never see the desktop version.
Publishing Before SSL Is Working
Check HTTPS before promoting the site.
Installing Another Caching Plugin Immediately
Bluehost already provides built-in caching for WordPress.
Learn what you already have before adding another layer.
Bluehost First Order Discount: What to Check Before Paying
A Bluehost First Order Discount can reduce your starting cost, but make sure the plan itself fits your site.
Before buying, compare:
- Introductory cost
- Renewal cost
- Length of the first term
- Website limit
- Storage
- Backup schedule
- Support
- Security
- Domain eligibility
- Add-ons
You can see our current Bluehost Domain Offers and verified hosting deals before checkout.
Our page currently lists 10+ Bluehost deals and was last checked on August 17, 2026.
Bluehost WordPress Setup Checklist
Before you announce the website, make sure you have done these:
- Chosen the right Bluehost plan
- Checked the current discount
- Registered or connected your domain
- Installed WordPress
- Connected the correct domain
- Checked DNS
- Confirmed SSL
- Logged in to WordPress
- Added your site name
- Chosen a theme
- Installed only necessary plugins
- Created the main pages
- Built the navigation
- Checked caching
- Optimized large images
- Tested mobile
- Tested forms
- Checked links
- Reviewed backups
- Reviewed security
- Checked the final site on the live domain
You do not need to understand server administration to launch a basic WordPress website.
Take it one step at a time.
Final Verdict
Learning how to setup Bluehost is much easier than manually building a WordPress server.
The current process is mostly handled through the Bluehost Portal.
Choose the hosting plan.
Install WordPress from the Websites section.
Connect your domain.
Check SSL.
Build the site.
Then test everything before you send visitors to it.
The technical side should not take over the project.
Your website exists to publish content, sell products, generate leads, show your work, or support your business.
Hosting simply gives that website somewhere to live.
If you are ready to begin, get a free domain and a Bluehost discount code for your first order.
Frequently Asked Questions
Log in to your Bluehost Portal, open Websites, choose Add Website, and select WordPress. Bluehost then installs WordPress automatically.
Yes. Bluehost’s current setup lets you select WordPress from the Websites area and automatically installs a new WordPress instance.
WordPress itself is open-source software. You pay Bluehost for hosting and related services needed to keep the site online.
Qualifying 12- and 36-month hosting plans currently include one free eligible domain for the first year. It must be redeemed within 90 days, and the domain renews at the applicable rate after the free period.
Yes. You can connect a domain registered somewhere else by pointing it to Bluehost and linking it to the correct site.
Yes. Bluehost can provide a temporary domain for a new WordPress installation. You can connect the final domain later.
Yes. Current WordPress hosting includes a free Let’s Encrypt SSL certificate. You can check its status under Websites → Manage Site → Security.
Open your website in the Bluehost Portal and use its WordPress admin option. You can also normally access the dashboard by visiting yourdomain.com/wp-admin.
Yes. Bluehost currently provides page caching and Redis object caching for WordPress. Cloudflare CDN can also be managed from the Bluehost Portal.
Not necessarily. Bluehost already provides built-in caching. Test your site’s performance before adding another caching plugin.
As of August 2026, the displayed Starter plan begins at $3.99 per month on a 36-month term and renews at $9.99 per month. Prices and promotions can change.
Check our current Bluehost First Order Discount and promo codes before buying. Our Bluehost deal page currently shows 10+ offers and was last checked on september 03, 2026.