
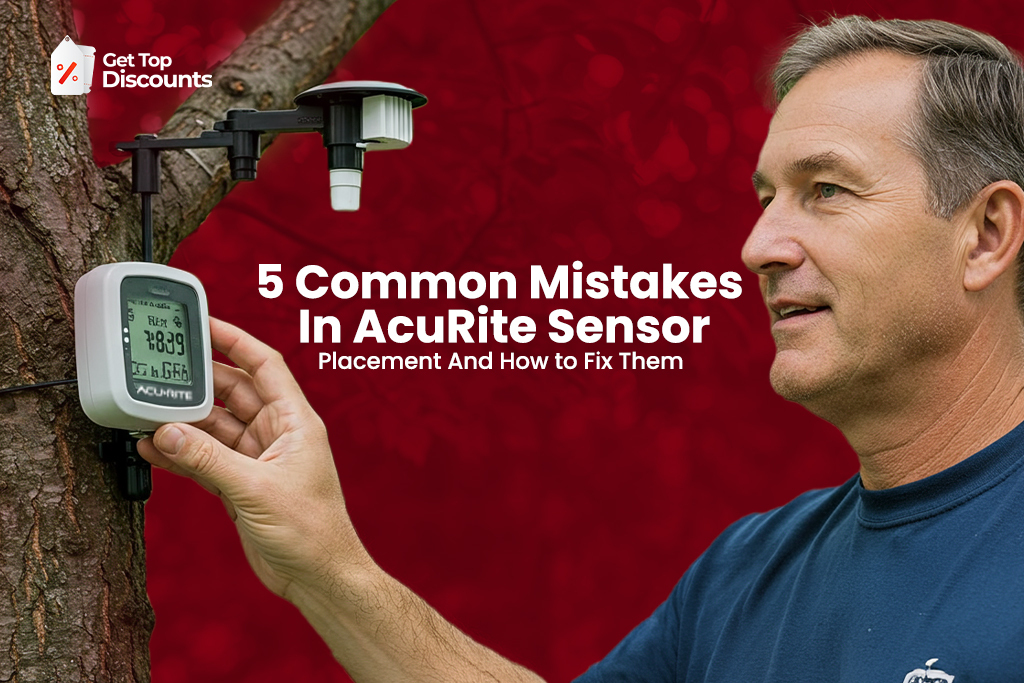
Weather lovers and homeowners trust AcuRite weather stations to get real-time weather data right from their backyards. But if not correctly positioned, even the most advanced weather sensors can give false readings. To get precise weather readings, right positioning of an AcuRite sensor is absolutely essential.
This thorough guide will walk you through the five most often committed errors people make in Acurite sensor placement and offer solutions for correcting these problems.
Mistake 1: Wrong AcuRite Sensor Installation Height
Professional meteorological standards specify precise height needs for several sorts of measurements:
- Temperature sensors: 4.0-6.5 feet (1.22.0 meters) above ground
- Wind sensors (anemometers): ideally 3033 feet (910 meters) in open terrain, but at least 5 feet for home use
- Rain gauges: Usually 23 feet, as low as possible without splash-back.
Common Height-Related Errors
Many AcuRite users make these common height-related mistakes:
- Mounting too close to the ground: This causes temperature readings to be artificially high, especially on sunny days when the ground heats up.
- Inconsistent height for comparisons: If you’re comparing readings with another weather station, differences in sensor height can explain discrepancies.
- Improper rain gauge height: Rain gauges mounted too high can be affected by wind, reducing their accuracy.
How to Fix Your Mounting Height
To correct your AcuRite sensor mounting height:
- Mount the unit at least 5 feet above ground level for 5 in 1 sensors. This is the lowest suggested height for residential weather stations.
- If at all feasible, use a mounting pole with adjustable height capabilities.
- Mount the sensor higher for the most precise wind measurements, but keep in mind that this may call for a second temperature sensor at the customary 4.65-foot height.
- Use an AcuRite promotion code to save if you need a new sensor or mounting bracket.
Mistake 2: Bad Site Selection
Where to Mount AcuRite 5-in-1 Sensor for Best Results
One of the most often asked questions among new weather station owners is where to install an AcuRite 5 in 1 sensor. The best spot should:
- Be away from heat sources including chimneys, exhaust vents, and HVAC systems.
- Stay clear of huge bodies of water except you’re measuring seaside circumstances.
- Be far from heated asphalt, concrete, and other surfaces.
- Have good airflow from all directions
- Be accessible for maintenance
Best Location for Weather Sensor Placement
- Open area: Place your sensor in an open area with minimal obstructions. For wind measurements, the sensor should have clear exposure from all directions.
- Natural ground cover: Mount above natural ground cover like grass rather than artificial surfaces like concrete or asphalt, which can create a heat island effect.
- Distance from buildings: Ideally, place the sensor at a distance of at least 4 times the height of nearby structures. For example, if your house is 20 feet tall, the sensor should be at least 80 feet away.
- Avoid sprinkler systems: Do not install the sensor where it will be directly sprayed by a sprinkler system, as this will affect rainfall measurement accuracy and may force water into the housing.
Some models, like the Atlas with an aspirating fan, are more forgiving of placement. See our AcuRite comparison guide.
How to Relocate Your Sensor Properly
If you determine that your current sensor location is causing inaccurate readings, follow these steps to relocate it:
- Scout new locations: Walk around your property to identify spots that meet the criteria above.
- Test before permanent installation: If possible, temporarily mount the sensor in the new location and monitor readings for a few days.
- Consider signal strength: Remember that the sensor must maintain wireless communication with your display console (maximum range is typically 330 feet).
- Document the move: When relocating, note the date and time of the move in your weather records to explain any sudden changes in data patterns.
If you need a new mounting bracket or sensor, use an AcuRite promo code to save.
Mistake 3: Improper Orientation and Alignment
AcuRite Temperature Sensor Placement Considerations
Many users notice their Acu-Rite sensor reading high temperatures compared to official weather sources. This is often due to improper orientation rather than a defective sensor.
Why Your Acu-Rite Sensor is Reading High Temperatures
If you’re experiencing consistently high temperature readings, check for these common orientation issues:
- Solar radiation exposure: Direct sunlight hitting the sensor can cause temperature spikes of 10°F or more above actual air temperature.
- Reflected heat: Sensors placed near light-colored walls or reflective surfaces can pick up additional heat.
- Incorrect solar panel direction: For solar-powered sensors, improper orientation can reduce power efficiency.
Proper Alignment Techniques
To ensure accurate readings through proper orientation:
- Solar panel direction: Install the sensor with the solar cell facing SOUTH in the Northern Hemisphere (or NORTH in the Southern Hemisphere). This not only maximizes solar charging but also properly orients the wind direction vane.
- Use radiation shields: If your sensor doesn’t include a radiation shield (like the fan-aspirated shield in the Atlas model), consider adding one to protect the temperature sensor from direct sunlight.
- Level installation: Use the built-in bubble level on top of the sensor to ensure a perfectly level installation. This is critical for accurate rain and wind measurements.
- Compass calibration: For accurate wind direction readings, calibrate the sensor using a compass during installation.
Mistake 4: Neglect of Obstruction Interference
Effect of Obstructions on Sensor Readings
Perhaps one of the most neglected details of installing AcuRite sensors is the effect of surrounding obstructions. Trees, houses, fences, and even yard ornaments can influence your weather readings, especially wind and rain measurement.
Professional meteorologists have suggested that sensors should be installed at least 10 times the height away from surrounding obstructions for the most accurate readings.
AcuRite Weather Station Mounting Instructions for Various Models
Various AcuRite weather station types have particular mounting specifications:
- 5-in-1 Sensors: Must be placed most carefully because of their multi-measurement function. They must be installed with full exposure in all directions, particularly for wind measurements.
- Rain Gauges: Must be installed distant from tall structures that may impede rain, but not in fully open environments where wind may interfere with collection.
- Temperature/Humidity Sensors: Must be shielded from direct sunlight but need adequate airflow.
Clearing Obstructions and Optimizing Placement
Proper placement is the most important step as explained in our Ultimate AcuRite Setup Guide.To reduce obstruction interference:
- Conduct a site survey: Take a walk around your premises and identify possible obstructions at various times of day (shadows shift with the sun).
- Factor in seasonal variations: Keep in mind that deciduous trees will impact differently in summer and winter.
- Utilize extension mounts: Choosing the most suitable AcuRite weather station mounting pole for support can put your sensor well above or above obstructions.
- Maintenance: Monitor periodically for any new obstructions such as vegetation growth or new buildings.
Mistake 5: Inadequate Protection and Maintenance
How to Protect AcuRite Sensor from Environmental Damage
Knowing how to protect an AcuRite sensor from environmental damage will make it last longer. Weather sensors are exposed to the elements day in and day out, so they are susceptible to damage from severe weather, debris, and wildlife.
Common Protection Failures
Most users have these protection-related problems:
- Ingress of water: Water could enter the sensor enclosure through incorrect sealing or installation.
- Damage by UV rays: Long-term sun exposure can harm plastic components over time.
- Interference from wildlife: Birds, insects, and little rodents can damage or nest inside sensors.
- Buildup of rubbish: Leaves, pollen, and dust can clog rain gauges and affect other readings.
AcuRite Troubleshooting: Maintenance Ideas
To keep the accuracy and lifespan of your sensor:
- Monthly sensor cleaning, with particular care given to:
- Rain gauge collector (check for debris)
- Wind cups and vane (ensure they spin freely)
- Temperature/humidity sensors (remove dust buildup)
- Seasonal inspections: Before extreme weather seasons, check:
- All mounting hardware for tightness
- Battery levels (even solar-powered units have backup batteries)
- Sensor housing for cracks or damage
- Protective measures:
- Apply silicone lubricant to moving parts annually
- Consider additional shields for extreme environments
- Use mesh screens to prevent insect nesting in rain gauges
Frequently Asked Questions About AcuRite Weather Stations
Low battery power is the most frequent problem; therefore, first examine the battery compartment for corrosion or low battery charge. Change them with fresh, high-quality alkaline batteries.
Take batteries from both the sensor and the display.
Wait 2-3 minutes.
Begin by restoring batteries in the sensor, then in the screen.
Consult your AcuRite weather station troubleshooting guide in the handbook or contact AcuRite support for more sophisticated diagnostics if problems persist.
Incorrect placement is the #1 cause of inaccuracy, which you can fine-tune by calibrating your sensor:
Mount 4-6 feet above ground over grass or natural soil in a shaded area, humidity and temperature.
Place the sensor level away from obstacles like roofs or trees that could hinder rain.
Wind: Mount the sensor at least 10 feet over any surrounding buildings for wind speed and direction; ideally on a rooftop mast for unrestricted airflow.
Calibrate your temperature readings like this:
Place a trusted analog thermometer close to the AcuRite sensor for half an hour.
Compare readings.
If there is a discrepancy, either alter via display settings (some types support manual calibration) or move the sensor to a cool, ventilated region away from heat-reflecting surfaces.
If you have ongoing inconsistencies, find out whether your AcuRite outdoor temperature is too high from proximity to HVAC vents, walls, or windows or from sunshine exposure.
Frequent signal loss can stem from:
Batteries running low in the outdoor sensor
Obstructions (metal roofs, walls, appliances) between the sensor and indoor display
Interference from other wireless devices operating on similar frequencies
Being installed beyond the sensor’s maximum transmission range
Try repositioning your display closer to the sensor, replacing batteries, and relocating potential signal-blocking objects. If needed, re-sync the sensor by following your AcuRite 5-in-1 weather station manual instructions.
Follow these steps:
Insert batteries in the sensor first.
Within 30 seconds, insert batteries in the display unit.
Allow a few minutes for automatic pairing.
Check for consistent signal bars and live readings.
If your AcuRite outdoor sensor is not working, ensure correct battery polarity and placement sequence to establish a stable connection.
You can download the AcuRite weather station manual directly from the official AcuRite website under their “Support” section by searching your exact model number. This ensures you get the most updated and model-specific instructions for installation, calibration, and troubleshooting.
Identify your model-specific replacement part number via your manual for AcuRite’s website.
Purchase the replacement sensor directly or from trusted retailers.
Remove the old sensor module carefully, following manual disassembly steps.
Install the new module, ensuring secure placement and battery installation.
Re-sync it with your display unit following standard pairing procedures.
At Get Top Discounts, we gather the latest AcuRite promo codes and exclusive coupons to help you save on weather stations, mounting kits, and sensor replacements. Whether upgrading to a higher-end model or buying spare parts, using verified deals from Get Top Discounts ensures you never overpay while keeping your weather data accurate and reliable for years to come.